Creating A Glass Plaque In Photoshop
Here is how it will appear in the end of the tutorial.

Subscribe to our newsletter and get useful tutorials and huge bundles with design freebies once in two weeks:
Step 1
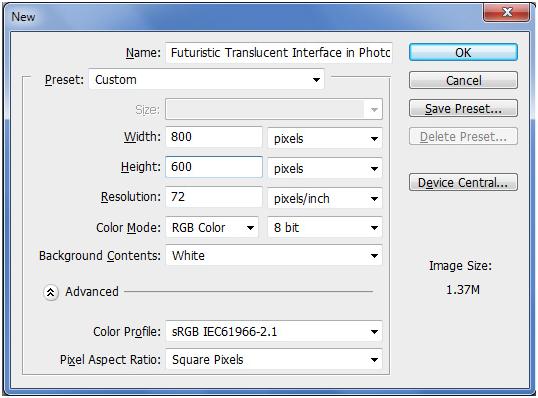
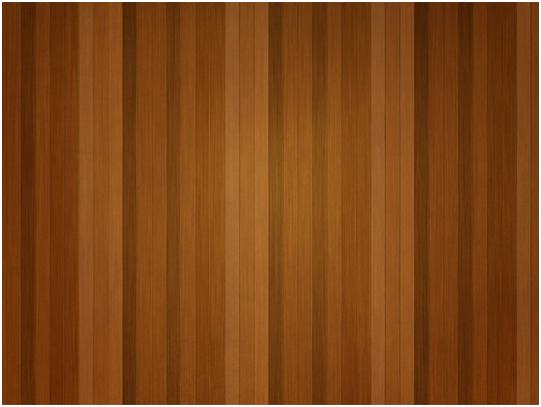
Create a new document. Set the size to around 1600 x1200 pixels, fill it with any color and insert wooden floor texture in your canvas.
Step 2
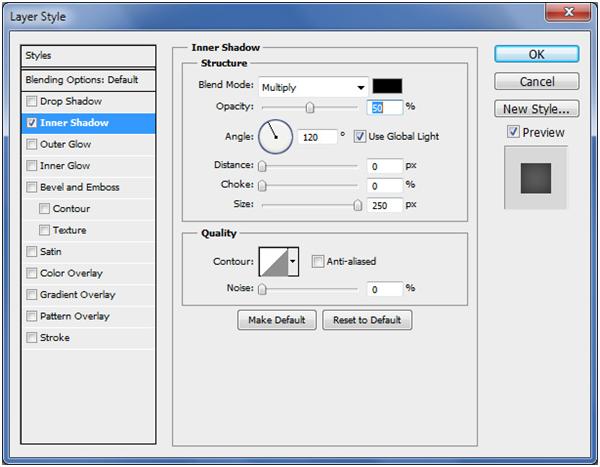
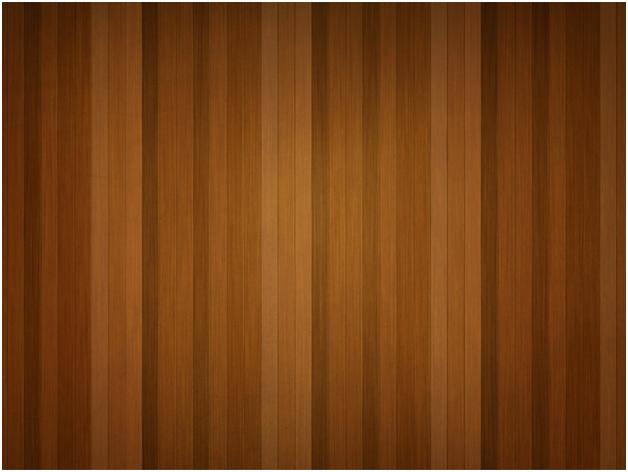
After adding texture to the canvas, open Layer Style and add an 'Inner Shadow'. Then change following fields: blend mode = multiply; opacity = 50%; angle = 120 (select use global light); distance = 0px; choke = 0%; size = 250px as shown in image .
Layer Effect :-
Step3
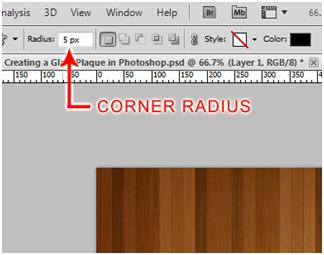
Now to create the glass, choose 'Rounded Rectangle Tool' then keep the corner radius in the top tool bar to about 5 pixels(as shown in image).
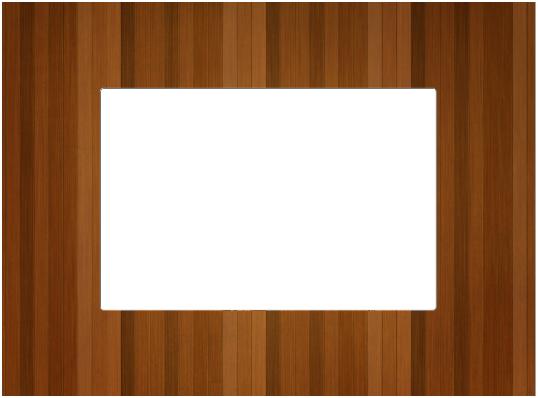
Next, draw a rectangle in the center of the canvas of the size you want your glass plate to be.
Step 4
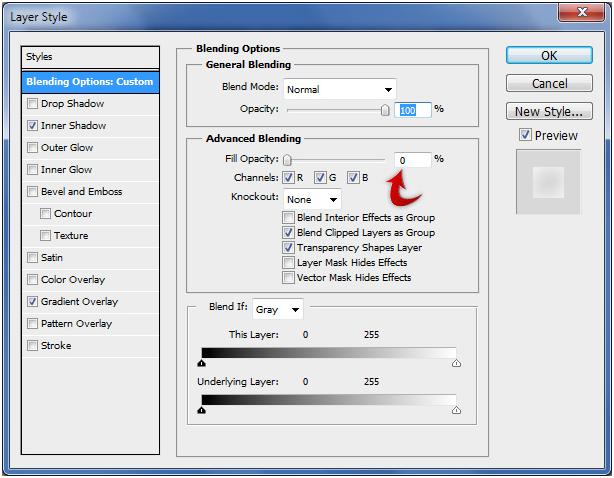
Now change the look of the box by changing values in the Blending options. Make opacity 100% and fill opacity to 0% as shown below.
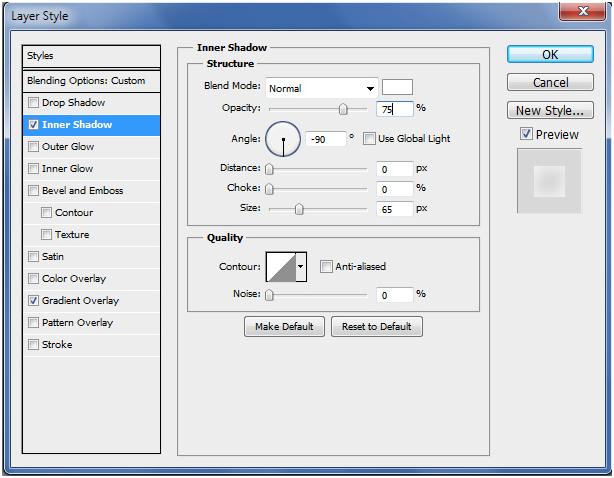
Also make changes in inner shadow as below.
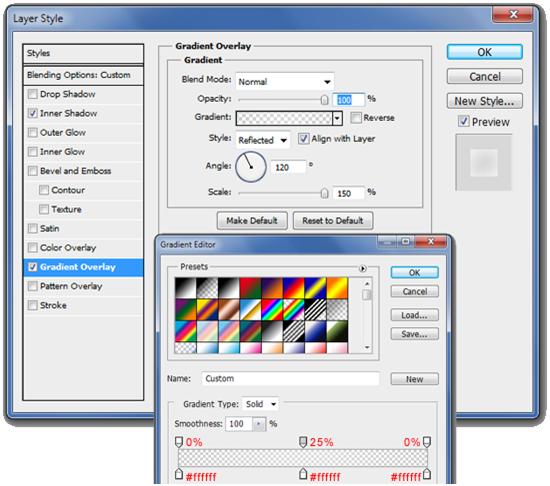
Now move to gradient layer and make the following changes.
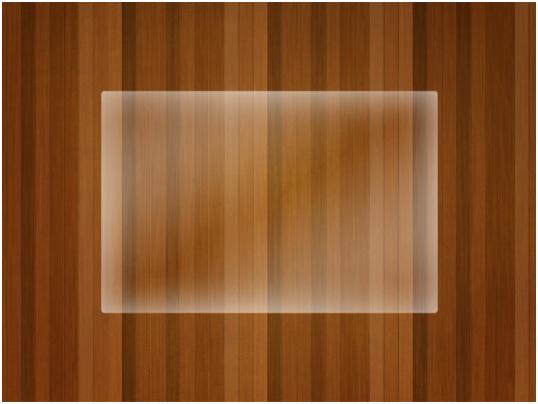
Now it must look like this.
Step 5
Next what you have to create is the edge of the glass. Start with the 'Rounded Rectangle Tool' then create a rectangle of the same size as of the first one, once you have created the rectangle press the minus key (-) on the keyboard and draw another rectangle inside the one you just created only this time make it about 2 pixels smaller. When using shape layers the minus keyboard shortcut "Subtracts From The Shape".
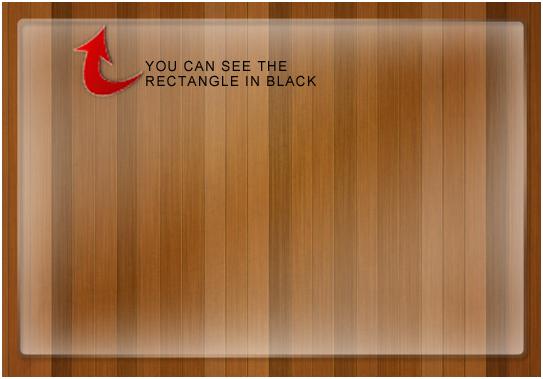
Now make the following shown layer style changes and then drag the layer to the bottom of the stack above the background layer.
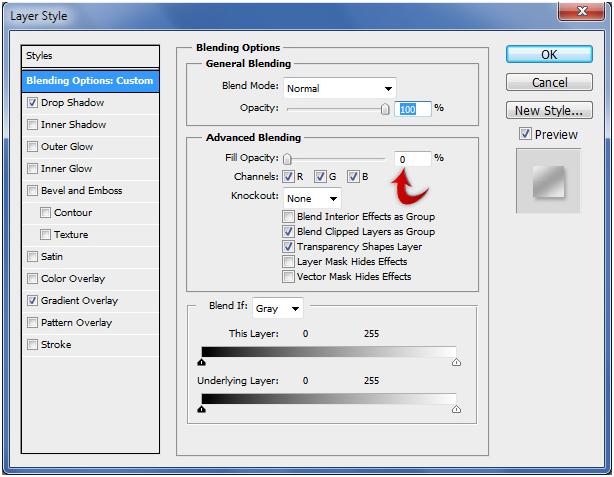
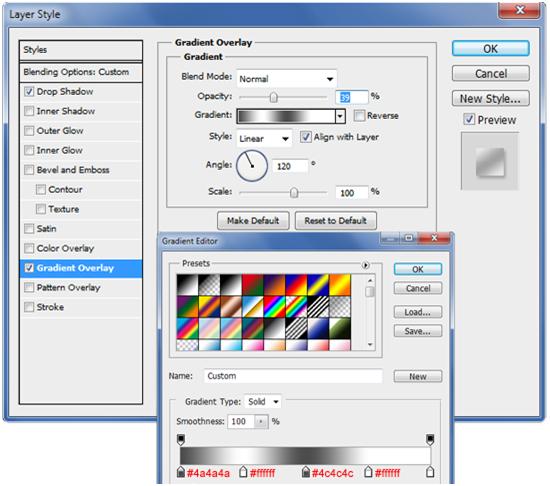
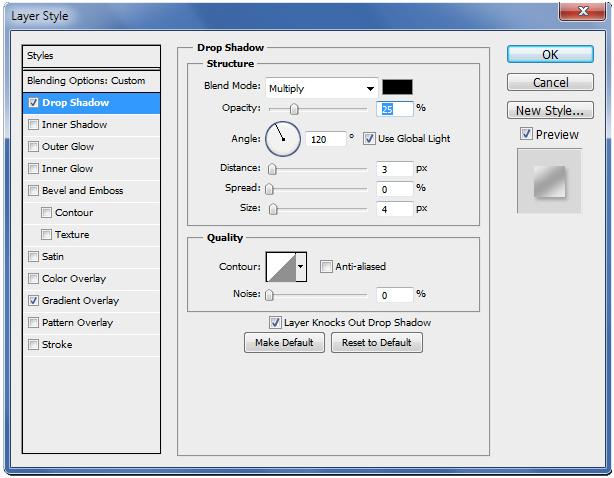
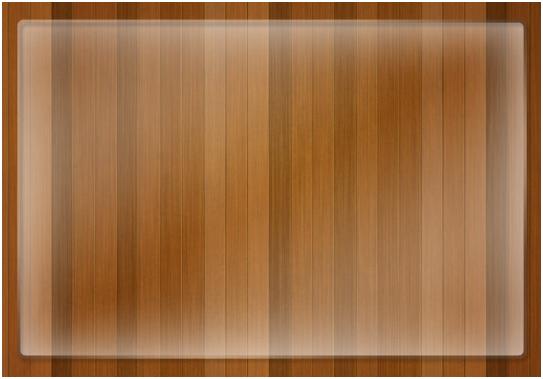
After applying following Layer Styles, our Glass should appear like this.
Step 6
Now, 'Make a Selection' around original rectangle shape, and create a new layer and fill it with the black color (#000000). Apply Noise filter by going to 'Filter > Noise > Add Noise', as shown in image below.
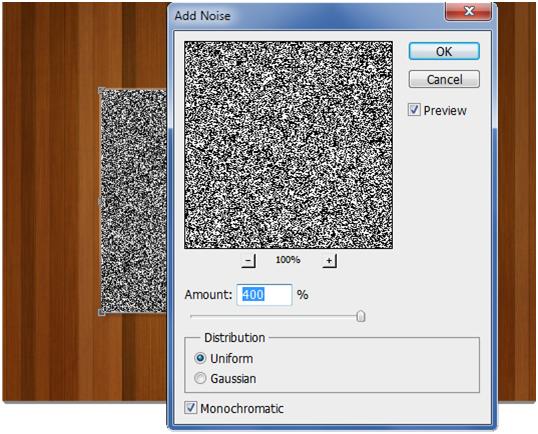
Change opacity of noise layers to about '5%' and then change the blend mode to 'Soft Light'. Your image must be looking like this one.
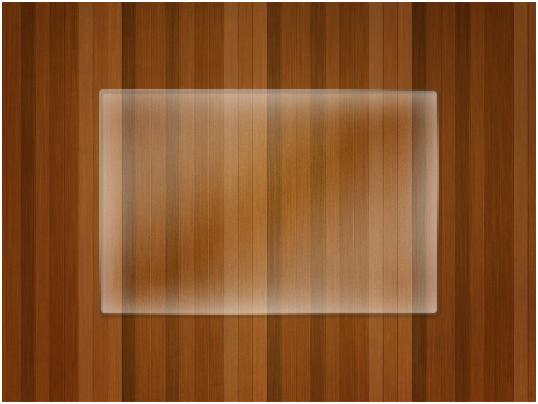
For creating a glass shadow and studs, select the 'Rectangular Marquee Tool' and select area smaller than the rectangle but this should be slightly off centre.
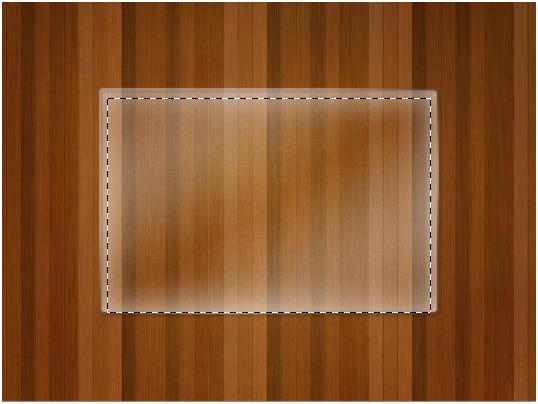
Fill black color (#000000) in that selection, and then add Gaussian Blur 'Filter > Blur > Gaussian Blur'. Blur the rectangle about by 1-2 pixels then set the layer opacity to 20%. Your image should be similar to image below.
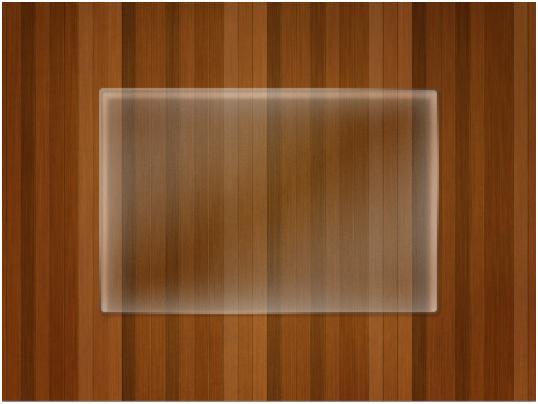
Step 7
Select the 'Ellipse Tool' and then create 4 ellipses in each corner of the glass frame as shown in image.
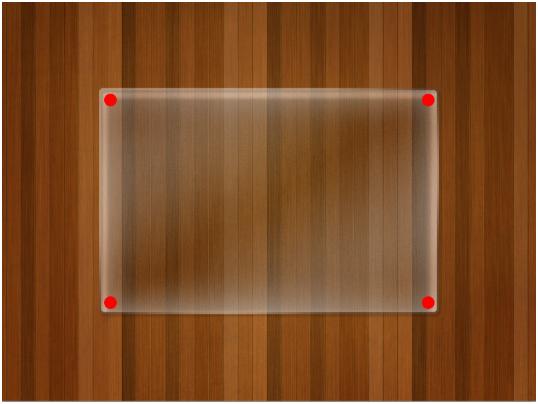
To make them look real make the following layer style changes as shown below.
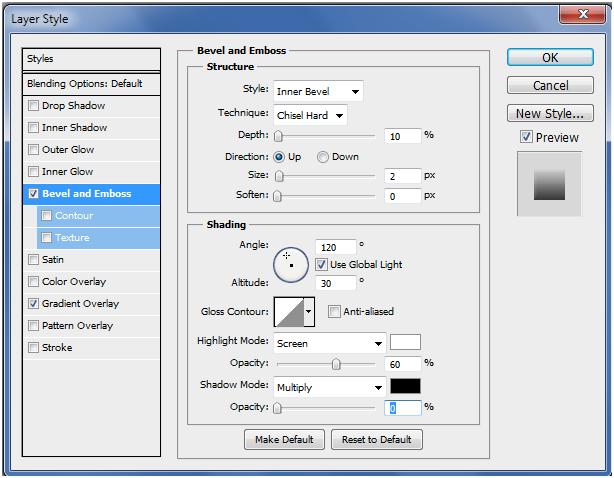
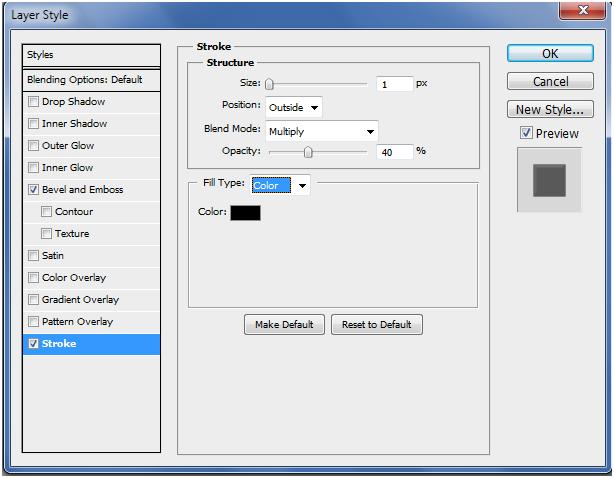
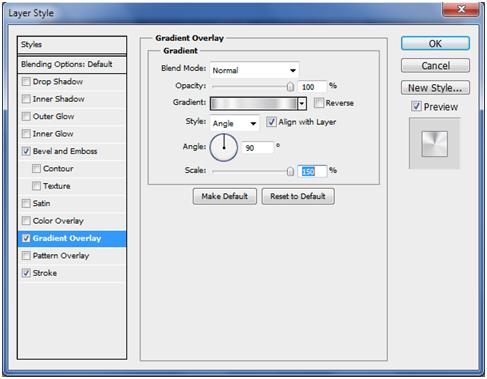
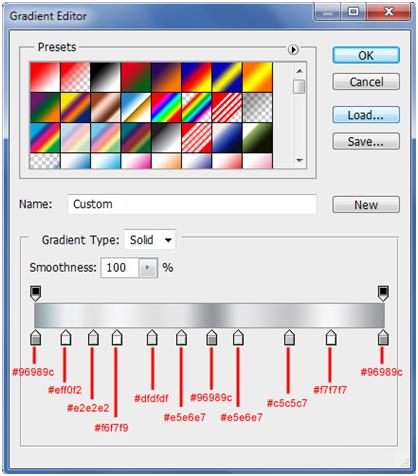
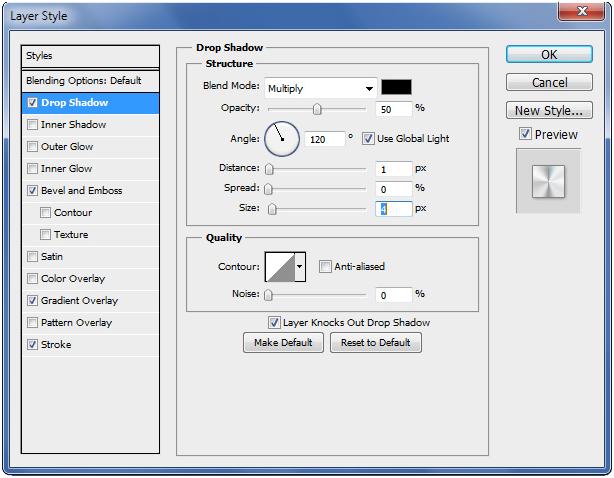
All these will give you image the following result.
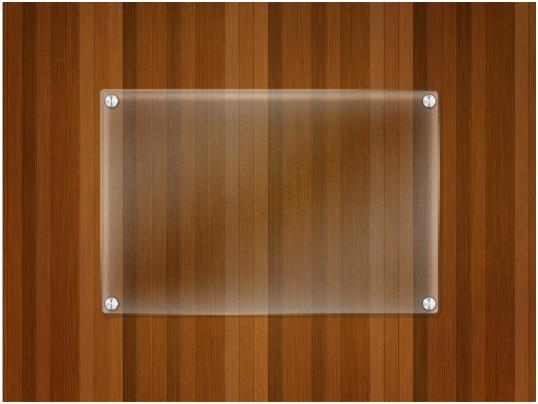
Step 8
Now add gloss to the glass, select the 'Pen Tool' and make a selection over the top left corner like the image below.
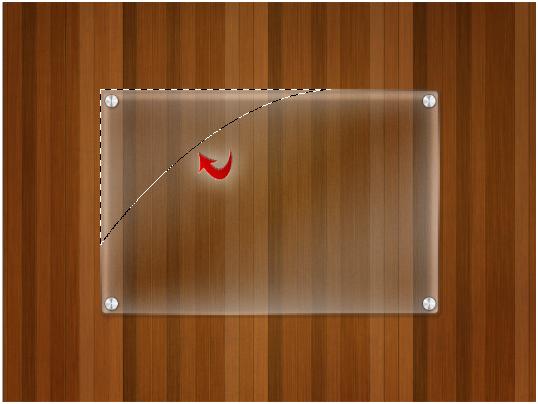
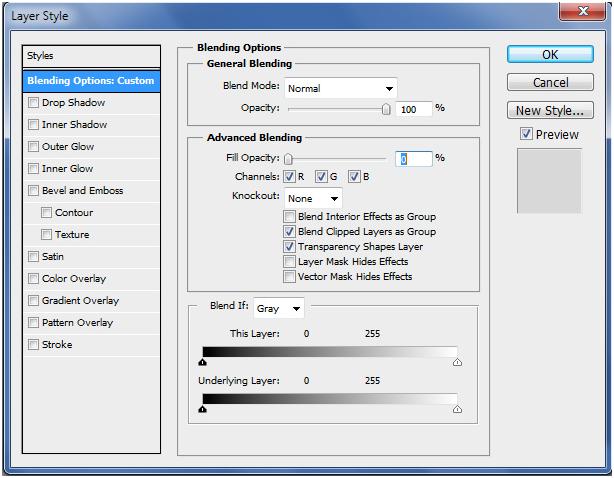
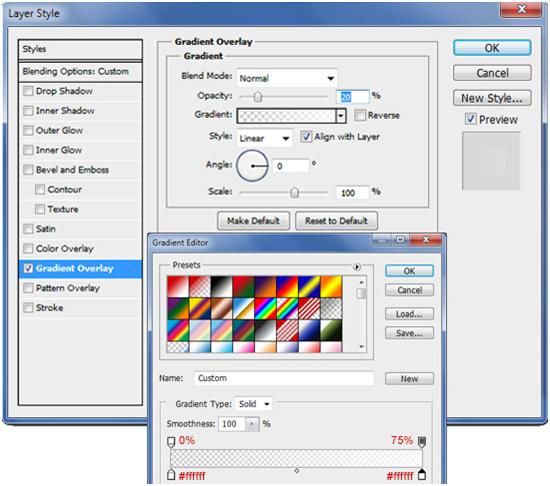
Once selection is made, fill that selection with the white color then add the following layer styles as shown in image.
Step 9
Choose 'Elliptical Marquee Tool' then create an ellipse over the top edge of the glass.
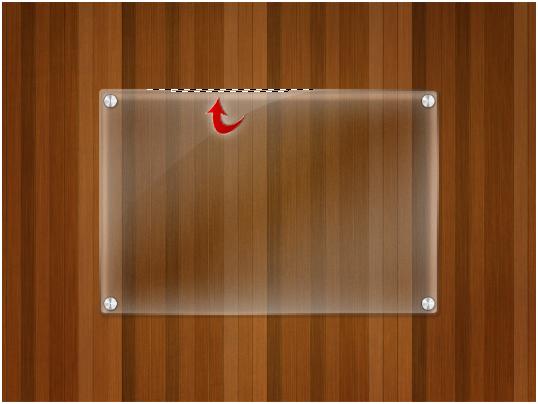
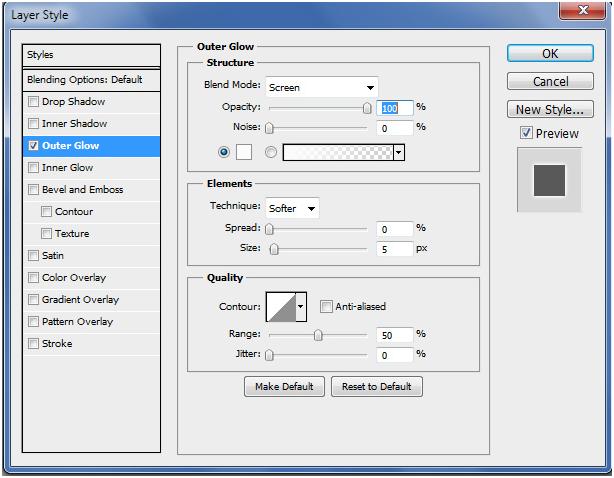
Fill the selection with the white color (#ffffff) then blur that shape about by 1-2 pixels using the Gaussian blur 'Filter > Blur > Gaussian Blur'. After blurring that shape add an outer glow layer style as shown below.
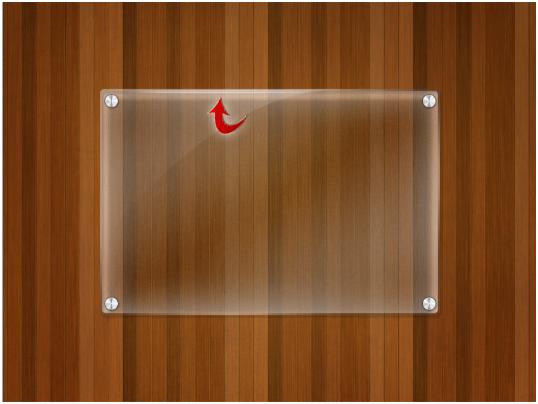
Now add a layer mask to the shape, and then select the 'Gradient Tool' with 'Reflected Gradient'. Drag the gradient from the middle of the shape outwards, the edges either side on the shape should merge in nicely with the glass edge.
Step 9
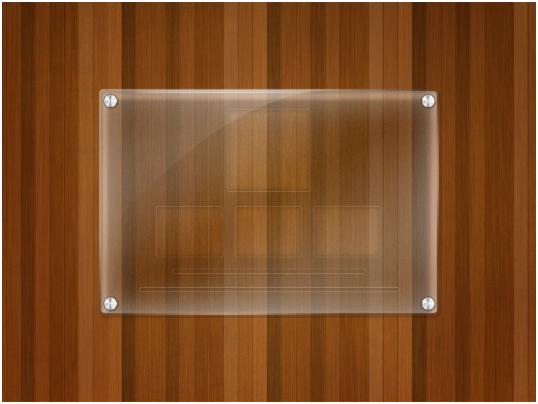
For creating a glass plaque content, select the 'Rounded Rectangle' with a corner radius of about 2-3 pixels, create a rectangle at the top in the center of the glass rectangle, then create two separate rectangles directly underneath then one more underneath the two, your image must look like this.
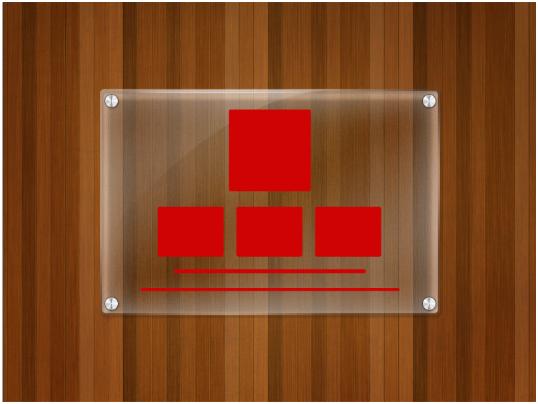
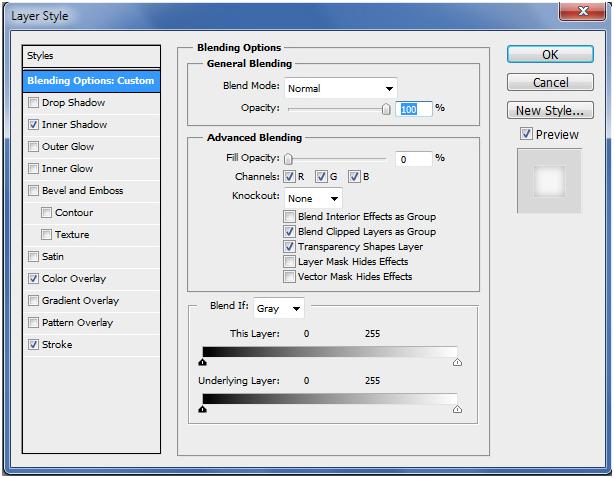
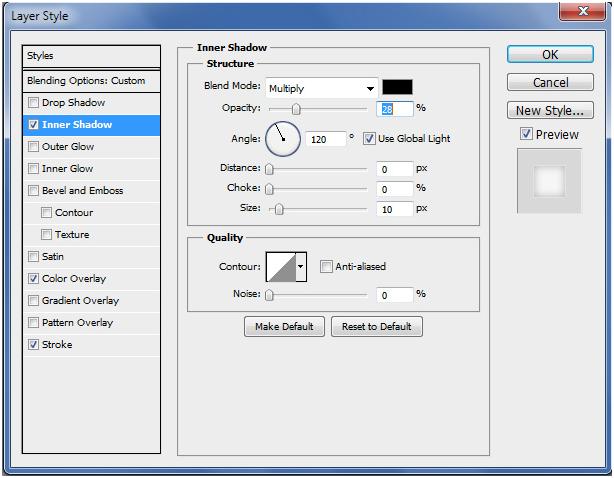
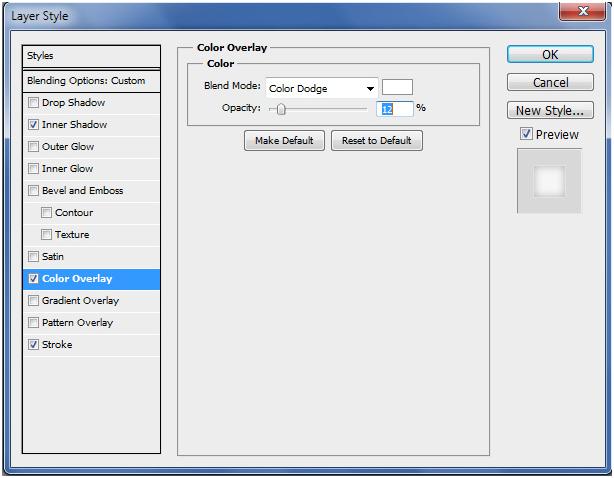
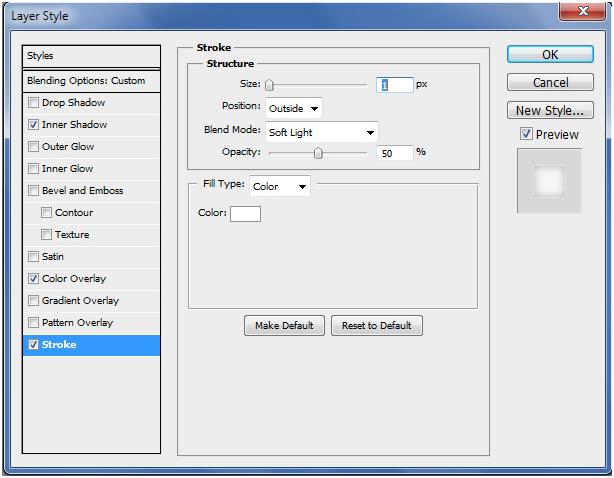
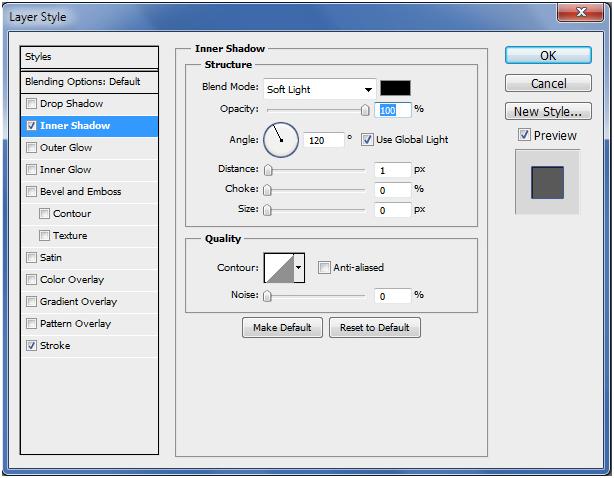
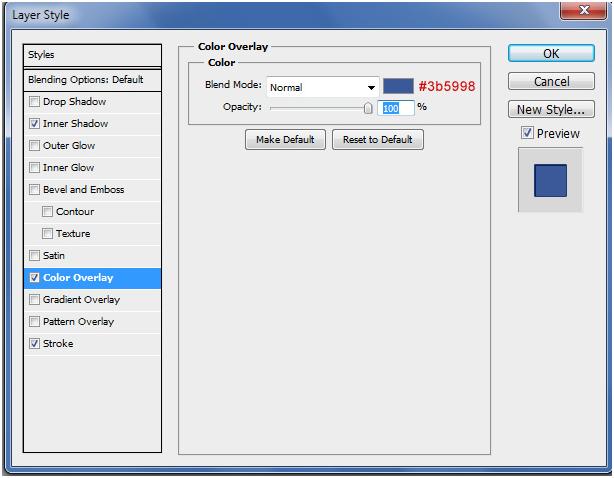
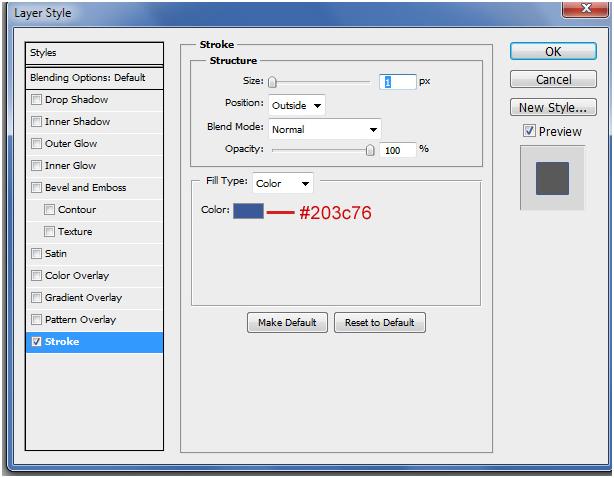
Following layer style changes are to be made with all the rectangles.
Result must be similar to this one.
Step 10
In the first box add the picture and the next three boxes should have the text.
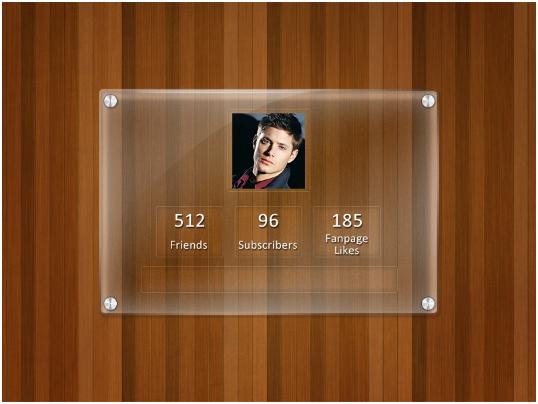
In the last box create another rectangle using the 'Rectangle Tool', and then add the following layer styles.
Here is what you wanted!


No comments: