Design A Black & Yellow Portfolio With Photoshop
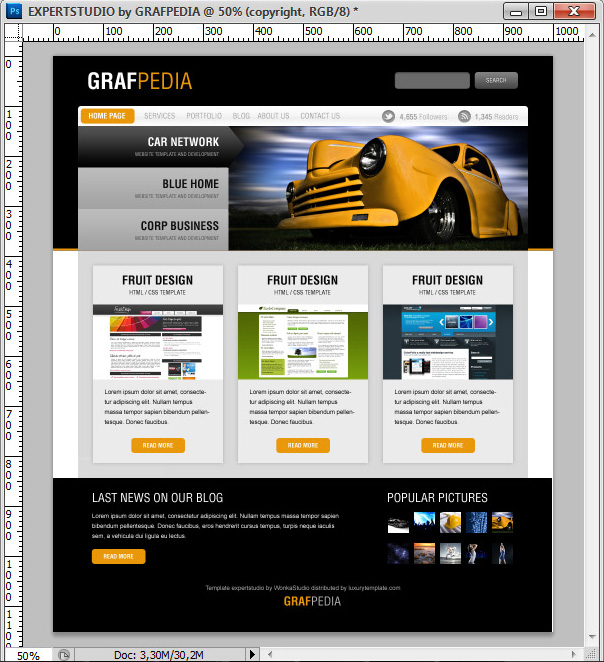
With this Photoshop tutorial you are going to learn how to create a graphical template for your portfolio. With its colors, black and yellow, you will easy make the difference with your competitors. All web designers with knowledge on Photoshop can access to this tutorial.
See below the final result:

STEP1 Create the document
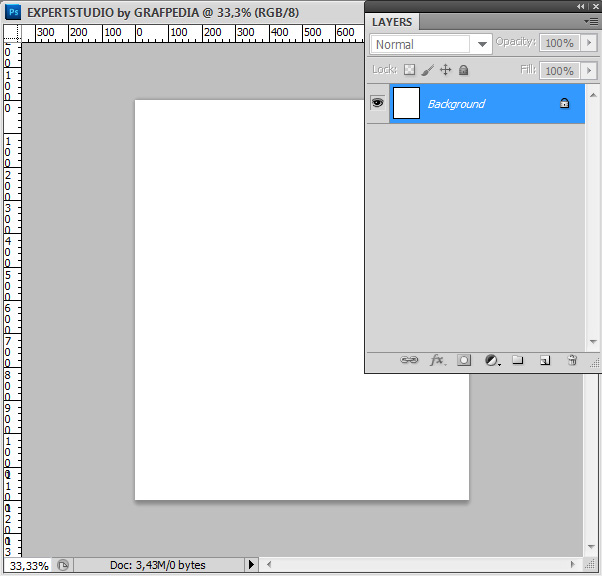
Open your Photoshop software then create a new document: 1000x1200 pixels.
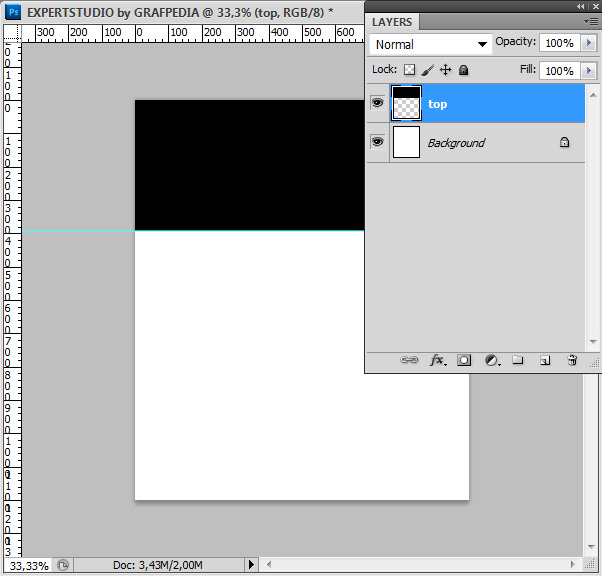
Create now a new layer (go to menu Layer>New>Layer), rename the layer Top. Use now the Rectangular Marquee Tool (M) to create an active area. To finish, fill this area with black color.
STEP2 Add the logo
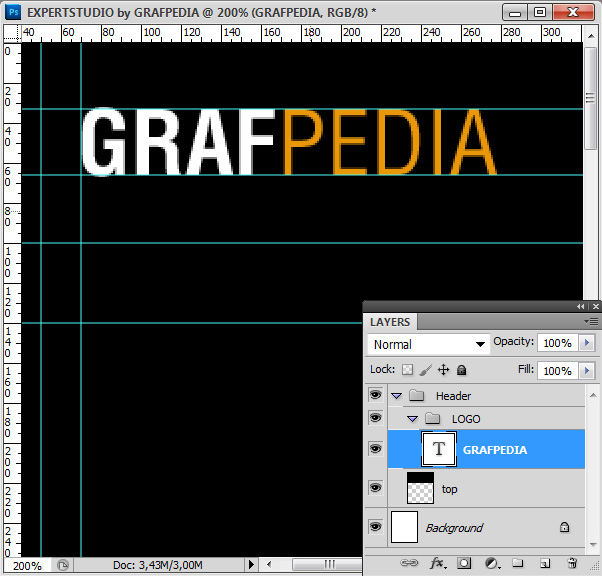
Use the Text tool (T) to create the logo.
STEP3 Search engine
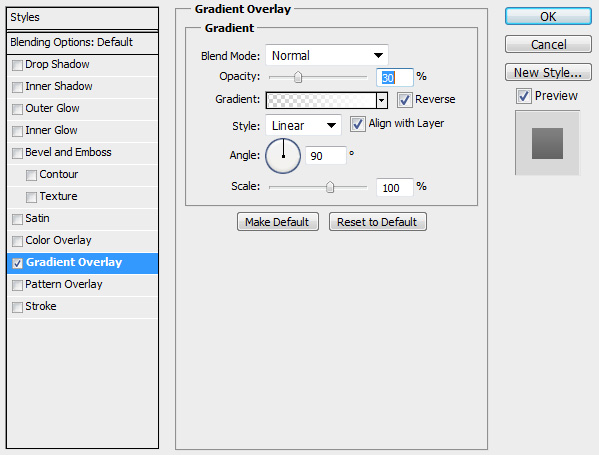
To create the search engine, use the Rounded Rectangle Tool (U) with a radius of 6px and the colour #6a6a6a. Then add on the input and after on the button, the layer styles as shown here:
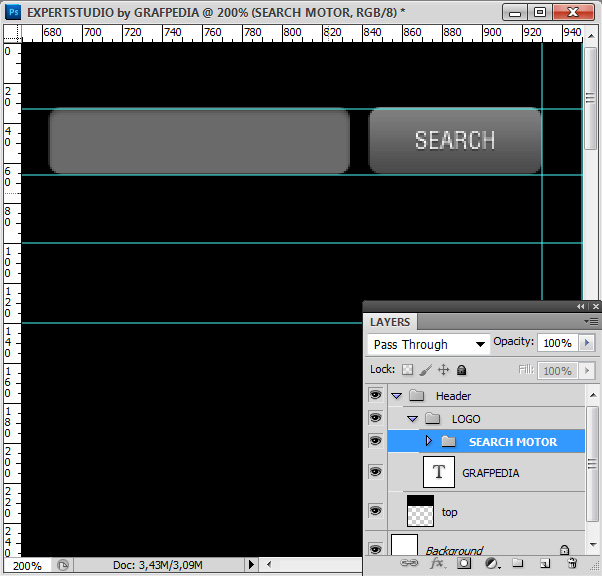
On the input:
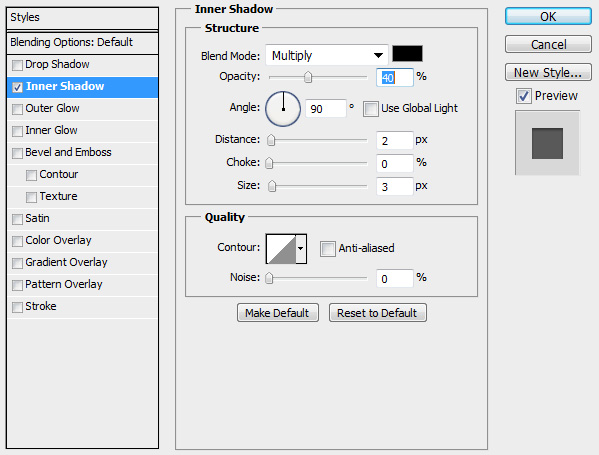
Then on the button:
And to finish, on the text:
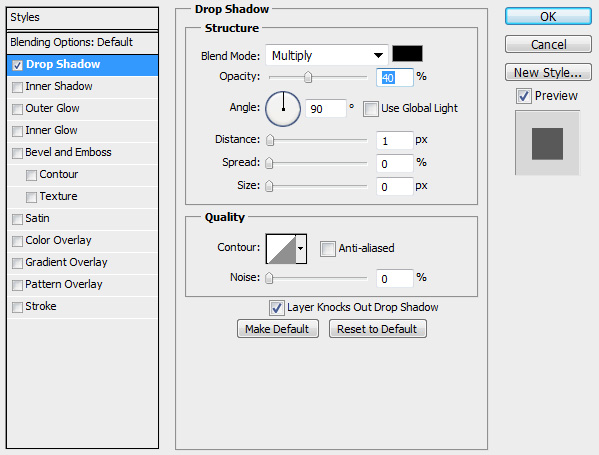
STEP4 Create the menu
Update the foreground color by the white, then use the rounded rectangular tool to create a 900x50 px rectangle. Then right click on the layer with your mouse and click on pixilate the layer. Use now the Rectangular Marquee Tool to remove a 10px height line on the bottom of the menu.
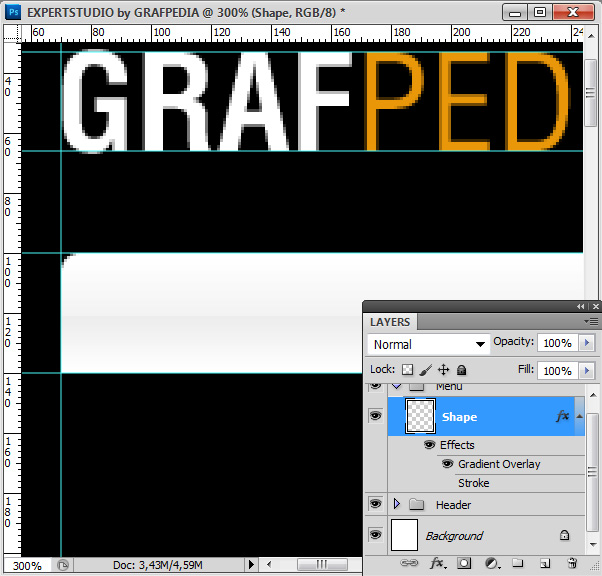
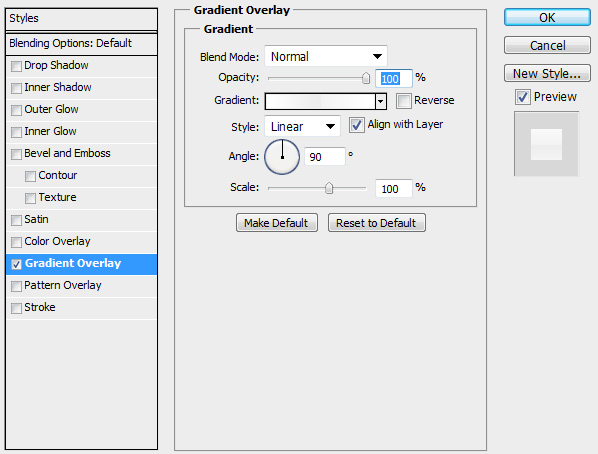
To finish, add a layer style on the menu. To do it, go to menu Layer>Layer style>Gradient overlay. See the setting here:
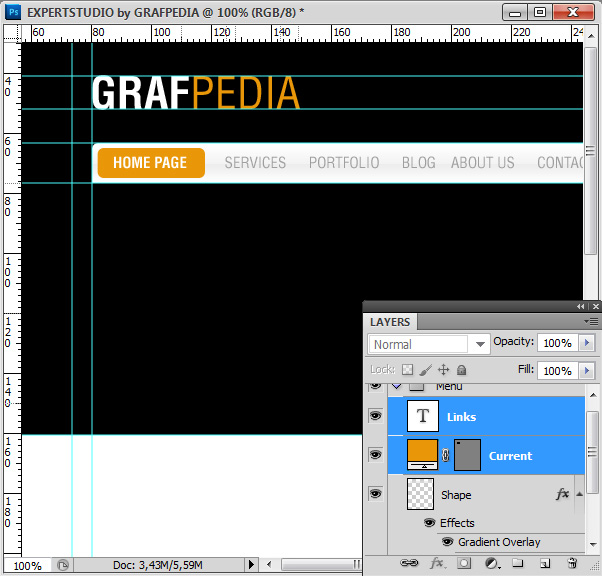
Use the Text tool (T) to add the links. Create a rounded rectangular behind the first link. Use the yellow color #e99709.
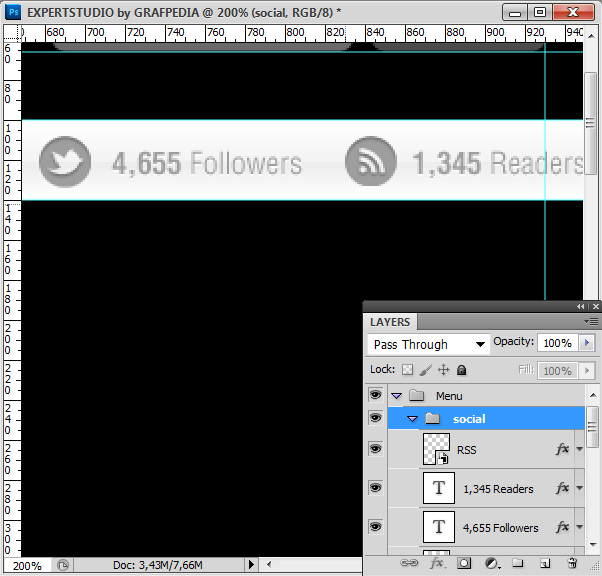
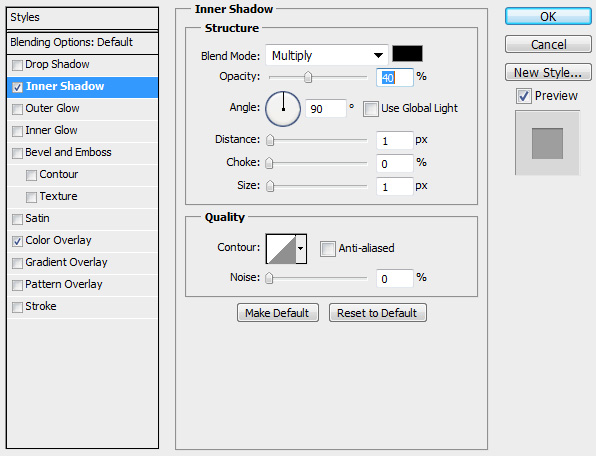
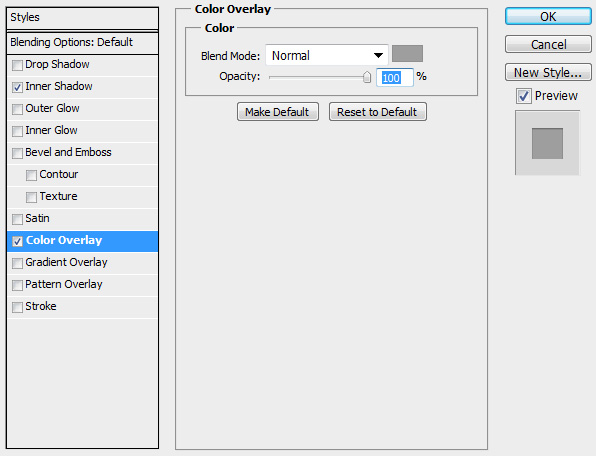
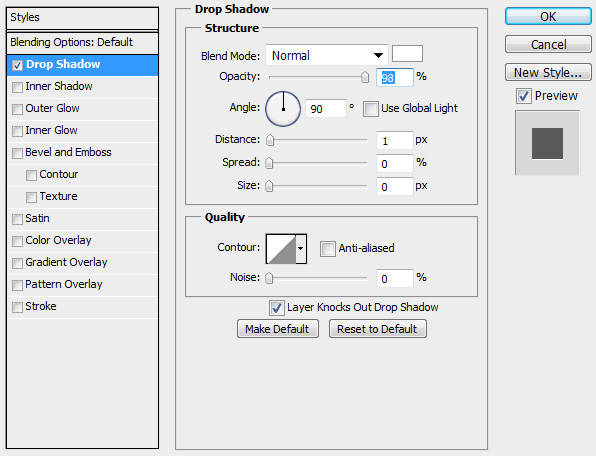
Go to this page : http://www.iconfinder.com/search/?q=iconset%3Asocial and download the two icons: Twitter and RSS. Then import these icons into your documents. Press Ctrl/Cmd + T to reduce them and add an internal shadow and a color overlay (go to menu Layer>Layer style>internal shadow).
Setting of layer styles to add on the icons:
Use the Text tool (T) to add the counters and apply a shadow.
STEP5 Create the carousel
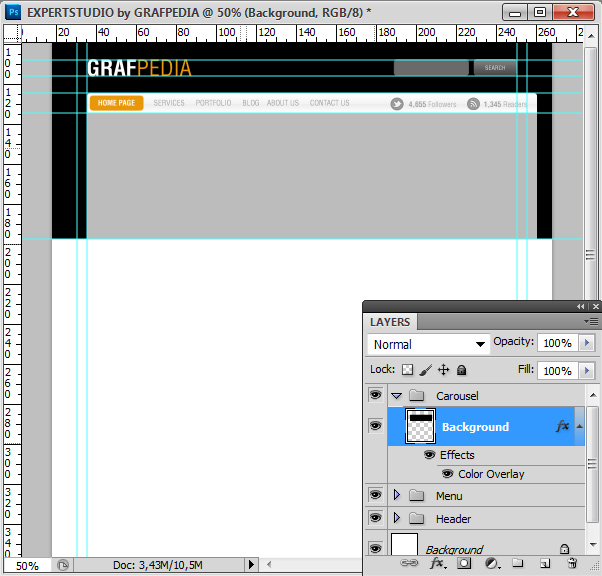
Create a new layer and rename it background. Create now under the menu, a 900x250px active area and fill it with the Paint Bucket Tool (G) and color #bbbbbb.
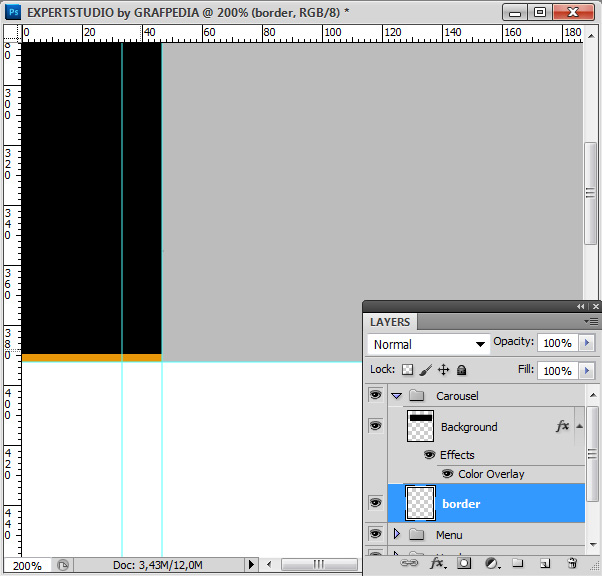
Create now a new layer and name it border. Put it under the layer background. Fill the selection with the yellow #e99709. Move the selection 4px to the top and press key Del.
To create the arrow of the carousel, create a 300x85px active area. Create a new layer, fill the selection with black color. Add now a gradient overlay (use colors #a3a3a3 > #bbbbbb from the bottom to the top).
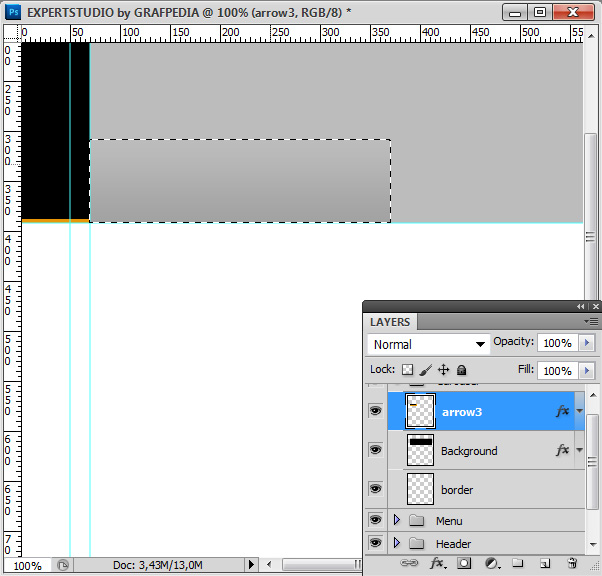
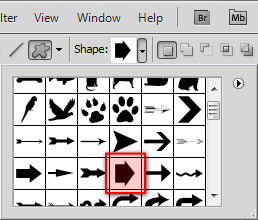
To create the first line, you need to add a triangle on the right to create the arrow, and to create the triangle, use the customized form of Photoshop.
Duplicate first the rectangle one time and move it to the top. Duplicate the rectangle a second time and remove the gradient overlay.
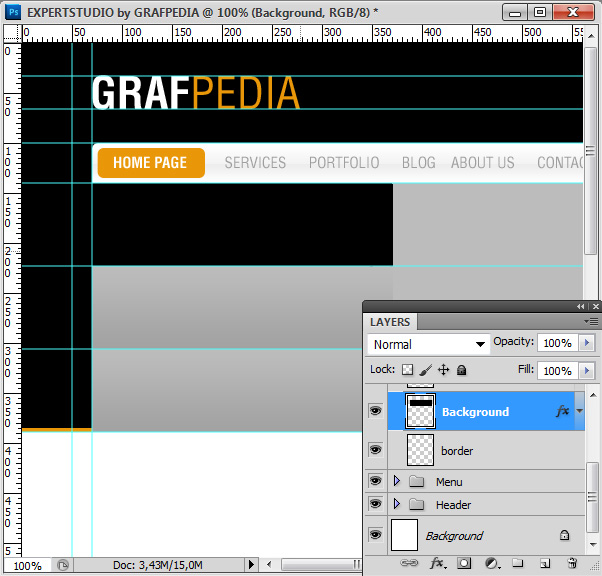
Use the customized forms tool (U) to create the arrow.
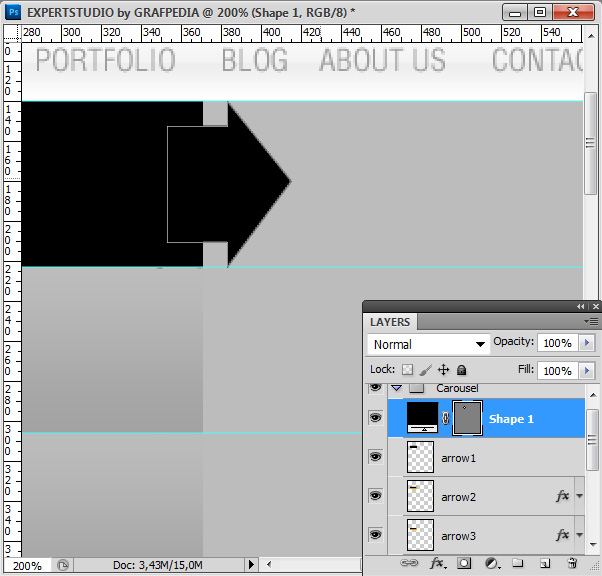
Add a new gradient overlay but use for this time, colors #020202 > #515151.
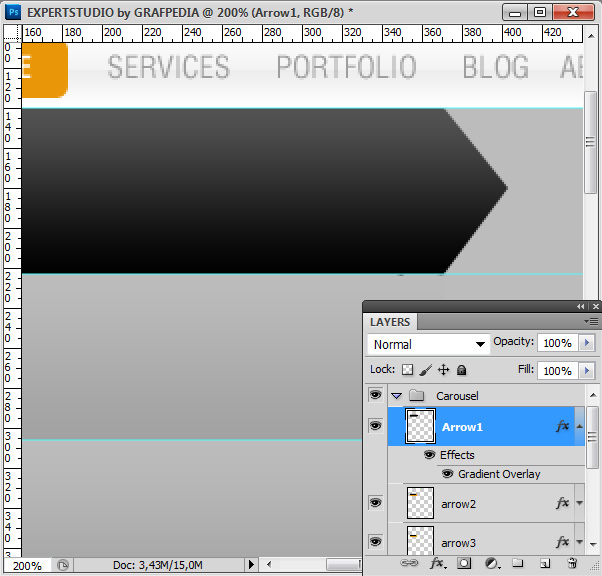
Use the Text tool (T) to add the title of each arrow.
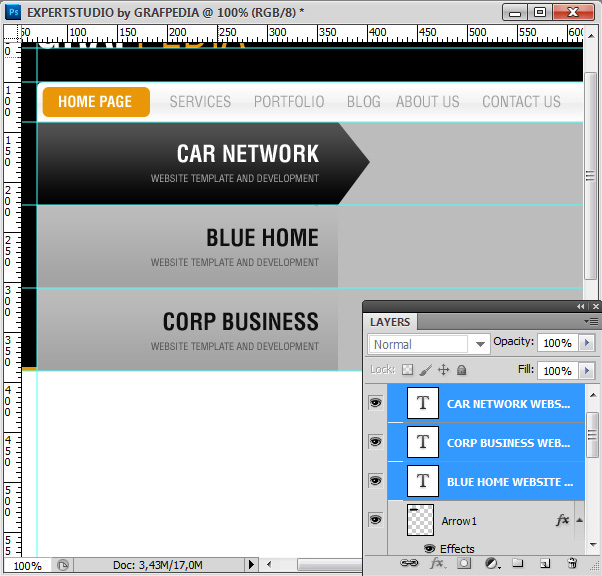
Import now the picture, put the layer of the picture under the arrows.
STEP6 Create the contents
To create the main contents of the template, create first a new group (menu Layer>New>Group) and name it Content. Use now the Rectangular Marquee Tool (M) to create a 900x455px active area, under the carousel. Create a new layer and name it background, change to foreground color by the grey. Use the Paint Bucket Tool (G) to fill the selection (use color #d9d9d9).
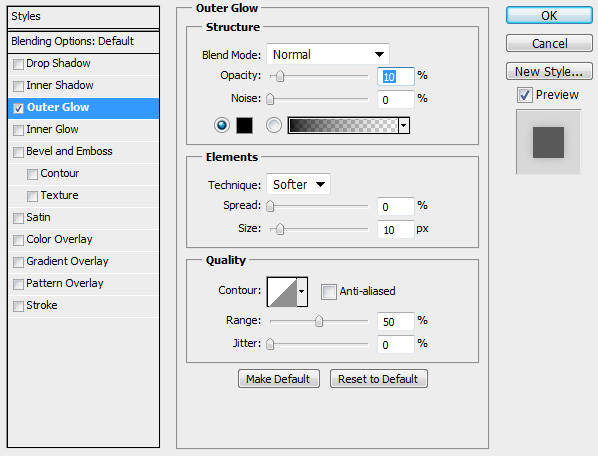
Create a new group and name it box1 and a new layer and name it box1. Use the Rectangular Marquee Tool (M) and the Paint Bucket Tool (G)to create a 260x395px rectangular with color #ebebeb. Add to this layer an external glow.
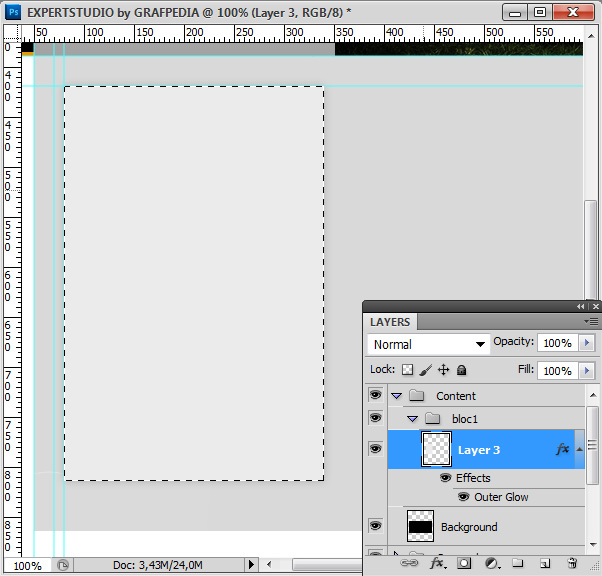
Add the title with the Text tool (T)
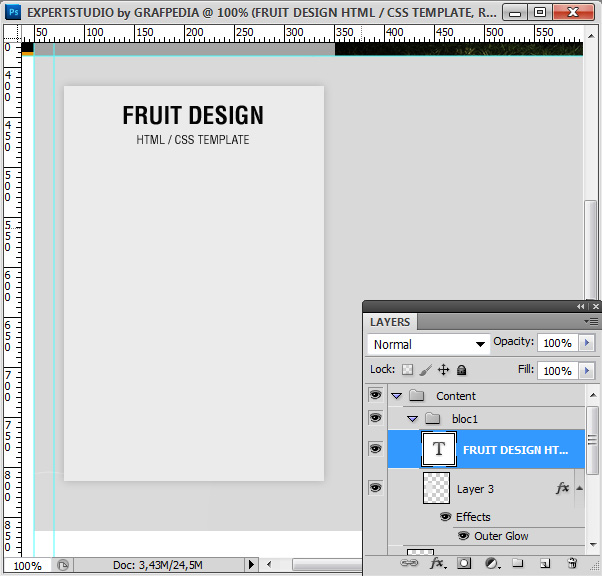
Import your picture.
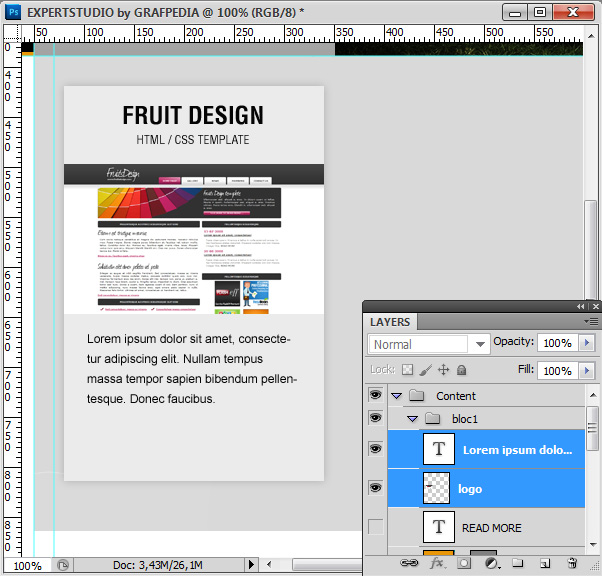
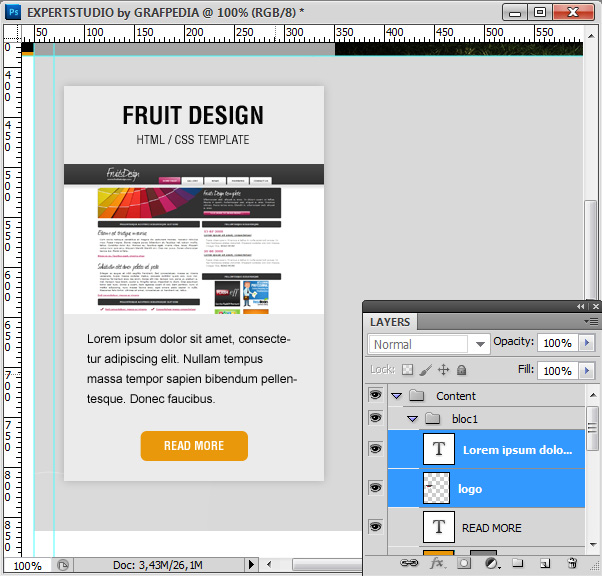
And now a text of description, and a button you can create with the rounded rectangular tool and yellow color #e9980b.
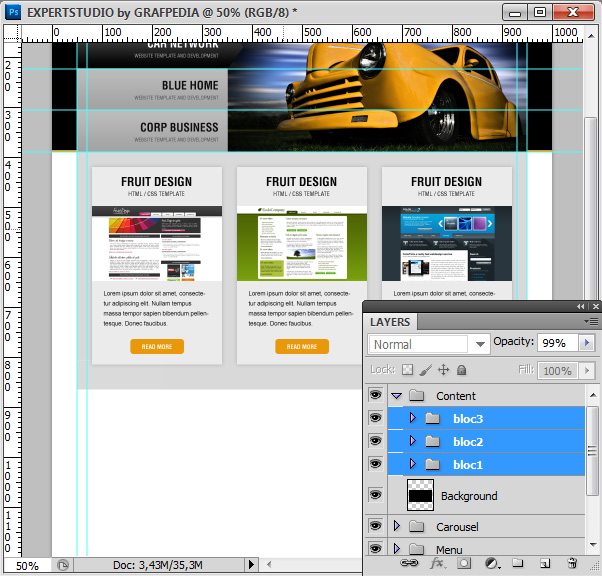
To finish the content, duplicate two times this group and put them all along the width of the page.
STEP 7 The footer
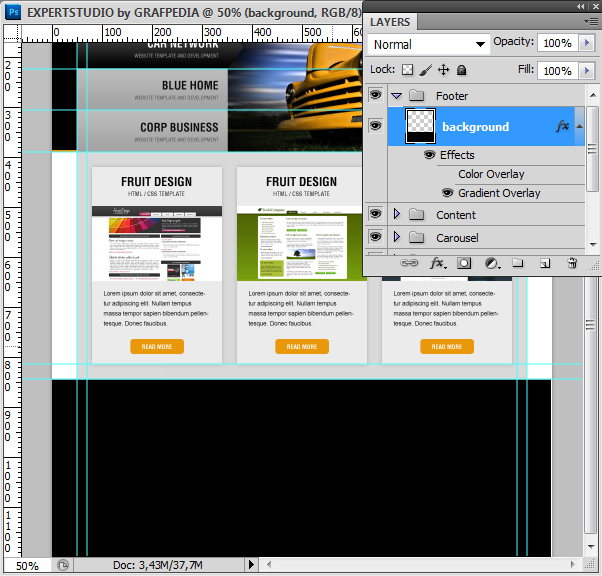
Create a new group and name it the footer. Duplicate the top layer (created during the first step). Rename the copy background and put it into the Footer group. Use the Move Tool (V) to place the black rectangular on the bottom area of the template.
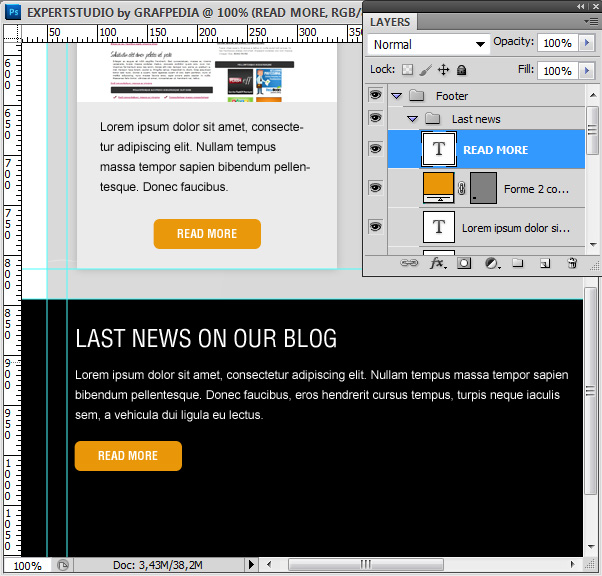
Use one more time the Text tool (T) to create a title, a description (find one on lipsum.org) and the button (always the same one).
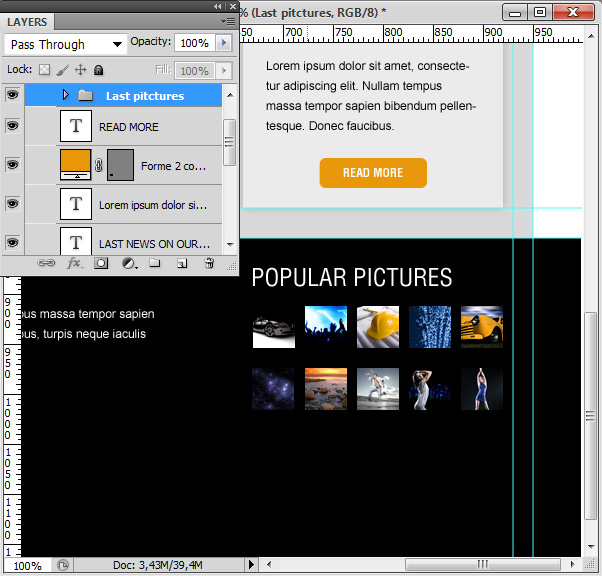
Create a title on the right " Last pictures " and place it under several thumbnails to simulate a small pictures gallery.
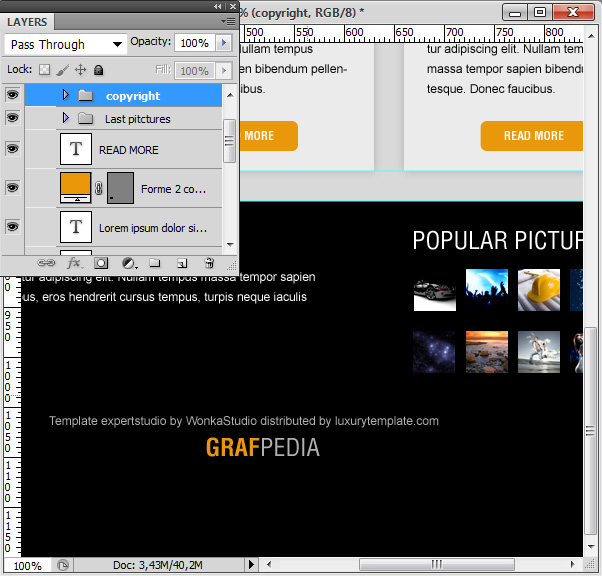
To finish, add the Copyright and enter again the name of your website to make a reminder.
The template is now finished, wonderful and ready to be coded in HTML5 / CSS3 : )
If you like this tutorial, you can easy help us, sharing this link on your Facebook or Twitter groups and we will thank you a lot in this way.


No comments: